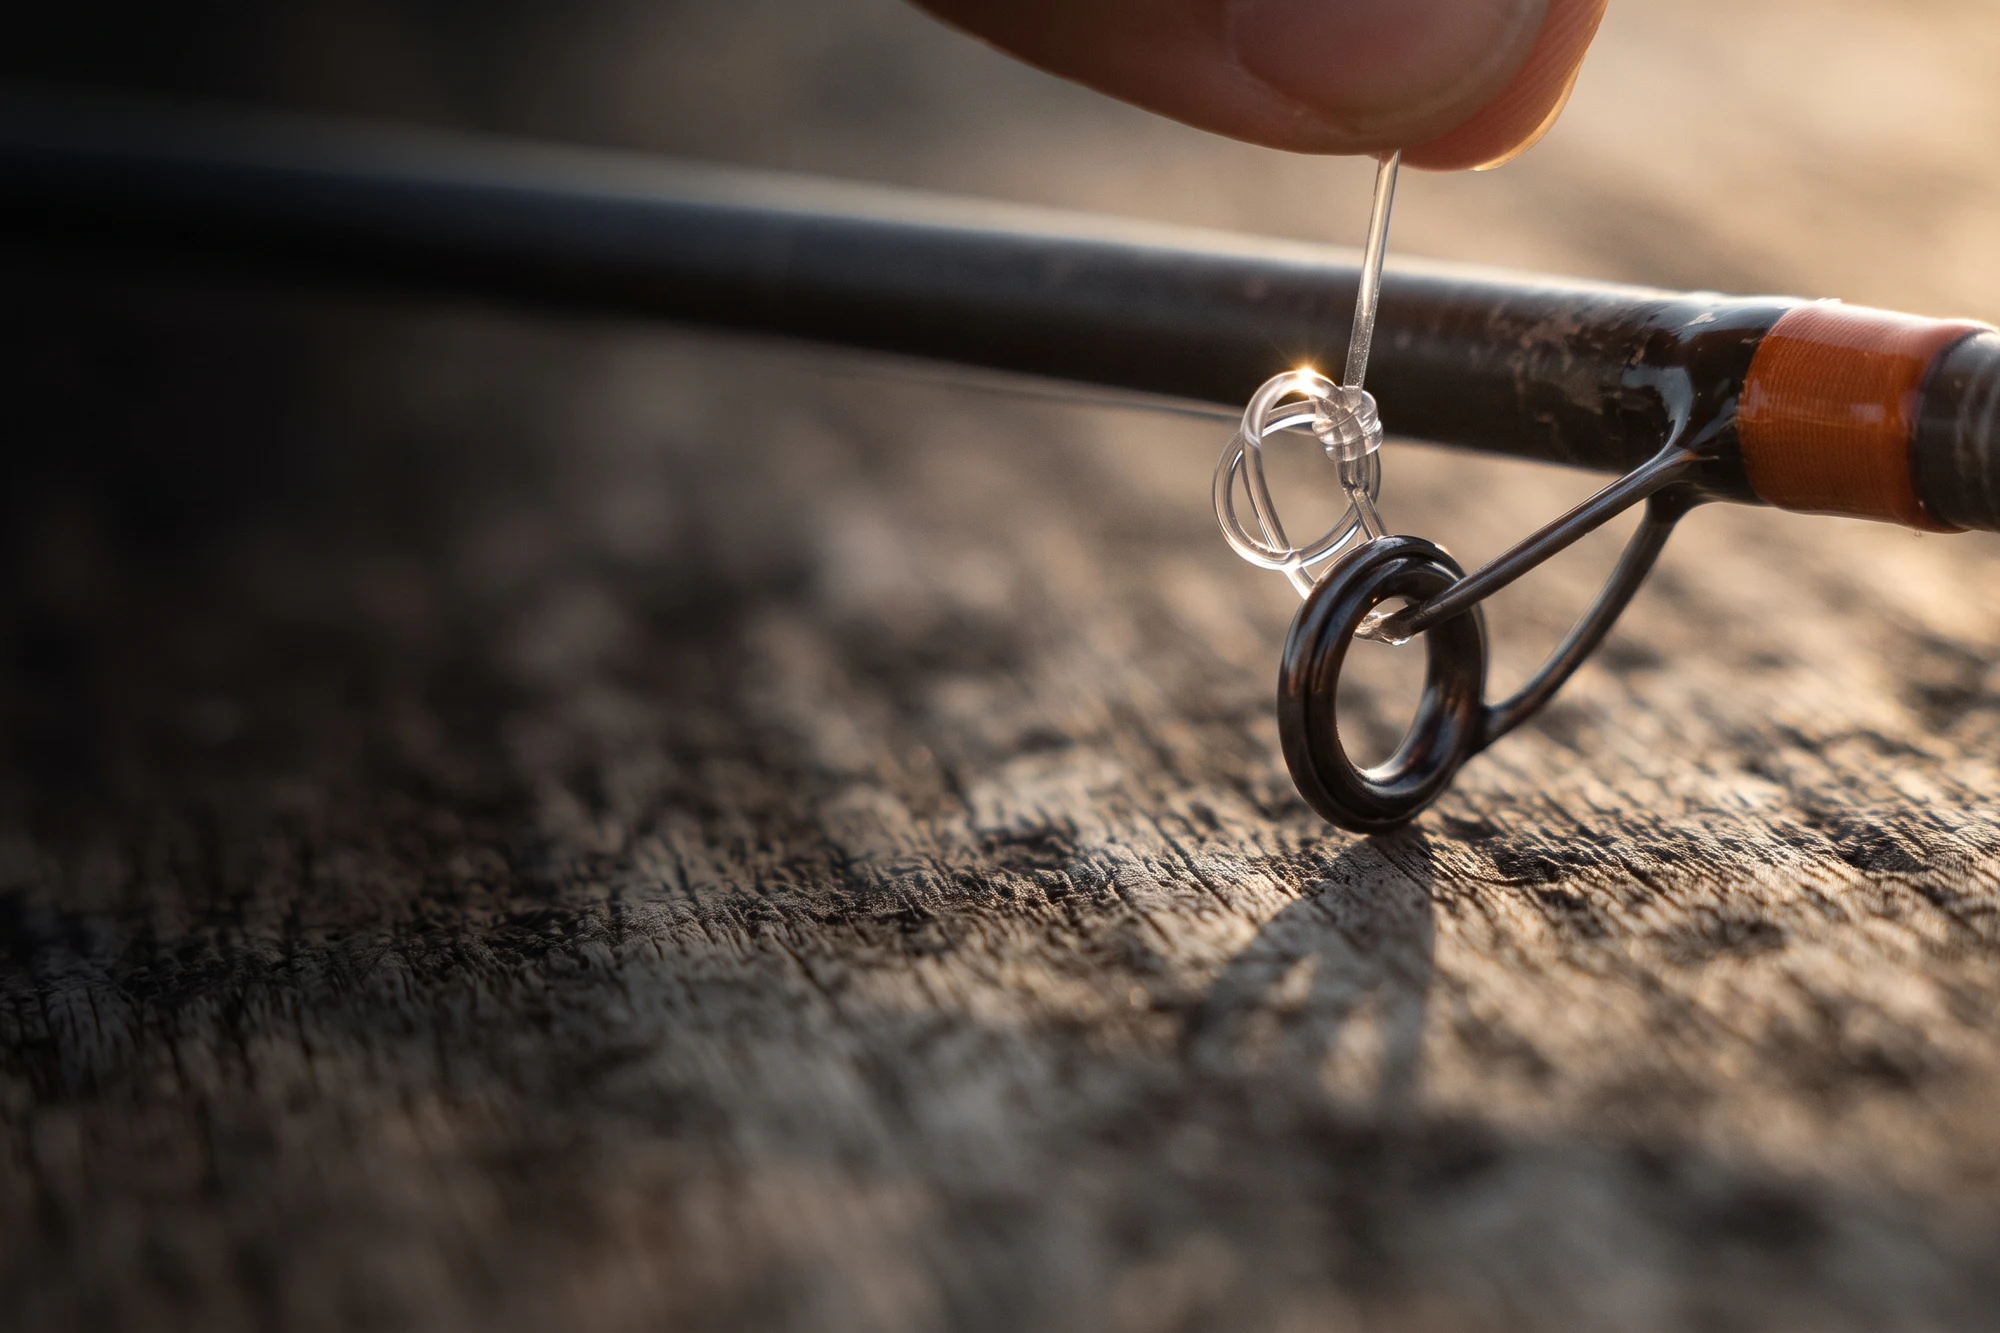
The standard jerkbait setup runs two different lines doing two different jobs. Braid fills the spool: thin diameter, zero stretch, you feel the exact moment a fish interrupts the pause. At the rod tip, that braid meets a fluorocarbon leader: stiffer, denser, nearly invisible in clear water, with enough give to absorb a sudden headshake that braid alone would turn into a pulled hook. It is an excellent arrangement. The problem is that braid and fluorocarbon have almost nothing in common. Different diameters. Different surface textures. Different stretch. One is slick; the other grips. The double uni is how you introduce them and convince them to stay together.
What you're actually building
A double uni is not one knot. It is two uni knots facing opposite directions, each tied into the other. The braid ties a uni knot around the fluorocarbon. The fluorocarbon ties a uni knot around the braid. You cinch each one individually until it forms a tight barrel on the opposing line. Then you pull the two barrels toward each other until they lock face-to-face. Neither side goes anywhere because each one is wrapped around the other. That is the whole structure: two separate clinches that become one connection.
Understanding this matters because the tying sequence follows directly from it. You are not tying one knot. You are tying two, and the order and independence of each step is why the knot either holds or doesn't.
Setting up
Pull about eight inches of braid off your reel and hold it alongside the tag end of your fluorocarbon leader, the two lines running parallel and pointed in opposite directions. You want roughly six inches of overlap, enough that each tag end has room to wrap without running short.
Pinch both lines together with your non-dominant thumb and forefinger right at the midpoint of the overlap. That pinch is your anchor for everything that follows. If you let it shift, the wraps on each side will compress in the wrong places and you will be retying.
Keep the two lines lying parallel and flat against each other. They should not cross or spiral before you start. Once they do, untangle them and start over: a twist in the overlap puts stress on the knot at exactly the wrong spot.
The braid side
Take the braid tag end and fold it back to make a loop around both lines, pointing back toward your spool. The loop should be loose enough to work with. Bring the tag end through the loop from underneath and begin wrapping it around both lines inside the loop, seven to eight times, keeping the wraps snug against each other and moving away from your anchor pinch. Do not rush the wrap count. Each wrap should lie flat against the previous one, forming a neat barrel.
When you have finished your wraps, keep tension on the tag end so they do not unravel. Wet the entire braid knot with water or saliva. Now pull the braid tag end and the standing braid in opposite directions, slow and steady. The wraps will compress and tighten into a barrel against the fluorocarbon. If the wraps bunch or ride over each other instead of compressing cleanly, the knot is not set correctly. Cut it off and start again; a crossed wrap does not improve under load. A properly set braid barrel looks like a small, tight cylinder gripping the fluoro.
Leave the braid tag end at about a quarter inch. Do not trim it yet.
The fluoro side
Now the fluorocarbon does the same thing to the braid. Take the fluoro tag end and make a loop around both lines, pointing back toward your leader. Bring the tag through the loop and wrap, five to six times. Same discipline: wraps lying flat, snug but not bunched, moving away from the overlap midpoint.
Wet the fluoro knot. Pull the fluoro tag end and the standing fluoro in opposite directions. The fluoro side usually feels stiffer as it cinches. Do not mistake that stiffness for a finished knot: keep steady tension until the wraps form a compact barrel with no crossed coils.
You now have two separate cinched barrels sitting on the line four to six inches apart, each gripping the other's material, neither locked to the other yet.
Sliding them together
Pull the standing braid and the standing fluoro in opposite directions. The two barrels will slide toward each other along the respective line they are gripping and lock together in the middle. Pull firmly until the two barrels are seated tight against each other and will not move further. That seat is the finished connection.
Trim both tag ends short but still visible, leaving a little more braid than fluorocarbon until the connection has passed the pull test below. A long tag catches guides; a tag shaved flush gives a slipping braid knot no margin.
Run your thumbnail along the knot. It should feel like a single compact bump, not two loose rings. If either barrel turns or shifts when you press on it, the knot is not fully set and you should retie.
Why braid gets more wraps
Braid is smooth. Its surface is slick by design: that slickness is most of why it casts far and why it comes off the spool cleanly. It is also why a knot tied in braid needs more contact points to hold. More wraps mean more surface area for friction, and on a material that provides less friction per wrap, you compensate by adding wraps. Seven to eight on the braid side gives the same holding power that fluorocarbon achieves in five to six.
Tie equal wrap counts on both sides and you will eventually discover the braid barrel pulling out first under load. The asymmetry is not a mistake. It is the adjustment.
The double uni trades a little bulk for speed and simplicity. A well-tied FG knot is slimmer through the guides and is a better choice when you run a long leader that crosses the tip on every cast, but it is more demanding to tie correctly. The double uni is the practical field knot: quick to rebuild in low light, easy to inspect, and strong enough only after the actual line combination passes a hard pull test. Knot-strength percentages measured with some other braid and leader are not a warranty for yours.
If you want the full saltwater knot rundown (FG, uni-to-uni, snell for circle hooks), the Naughty Knots saltwater guide covers all of them. For freshwater knots at the lure end of the leader, the lake and pond guide has the Palomar, the improved clinch, and the Rapala loop knot that makes a suspending jerkbait actually dart the way it should.
The one mistake that breaks this knot
Cinch each barrel before you slide them together.
If you try to pull the two barrels toward each other before both sides are individually set, the braid barrel slips first. Its smoother surface offers less resistance than the fluorocarbon, and it will pull through its wraps under the load of the final tightening instead of sliding as a finished unit. You end up with an asymmetric mess where the fluoro side is holding the whole connection and the braid side is doing nothing useful.
Set the braid barrel. Set the fluoro barrel. Then and only then pull them together. The sequence is the knot.
Where this knot fits, and where it does not
On a typical jerkbait setup, 10-pound braid can be much thinner than 12- or 15-pound fluorocarbon even though the strength labels look close. That is why the braid side gets extra wraps. It is also why you should compare the diameters printed by the two manufacturers instead of matching pound-test numbers and assuming the knot will sort it out.
The double uni is forgiving across a moderate mismatch, not every mismatch. If very thin braid buries under the fluorocarbon barrel, the finished knot deforms during a hard pull, or the connection repeatedly catches the tip guide, stop adding wraps and switch knots. An FG, Alberto, or Albright-style connection gives thin braid more purchase on a much thicker leader and usually produces a slimmer profile. Tie whichever knot you can reproduce cleanly, then pull on it harder than you expect to pull on a fish before it goes near the water.
KastKing SuperPower braid and Seaguar Blue Label fluorocarbon leader are one braid-to-leader pairing already cataloged on this site. Berkley Trilene Fluoro Leader is the lower-priced fluoro option in the same catalog. The tying sequence does not change with the logo on the spool, but the ideal wrap count can: inspect and pull-test every new combination instead of trusting the last one.
The full lineup of braid and fluoro options is in line and hardware for jerkbaits if you are building the setup from scratch.
TL;DR: seven to eight wraps on the braid, five to six on the fluoro, wet each side before cinching, cinch each barrel independently before pulling them together.