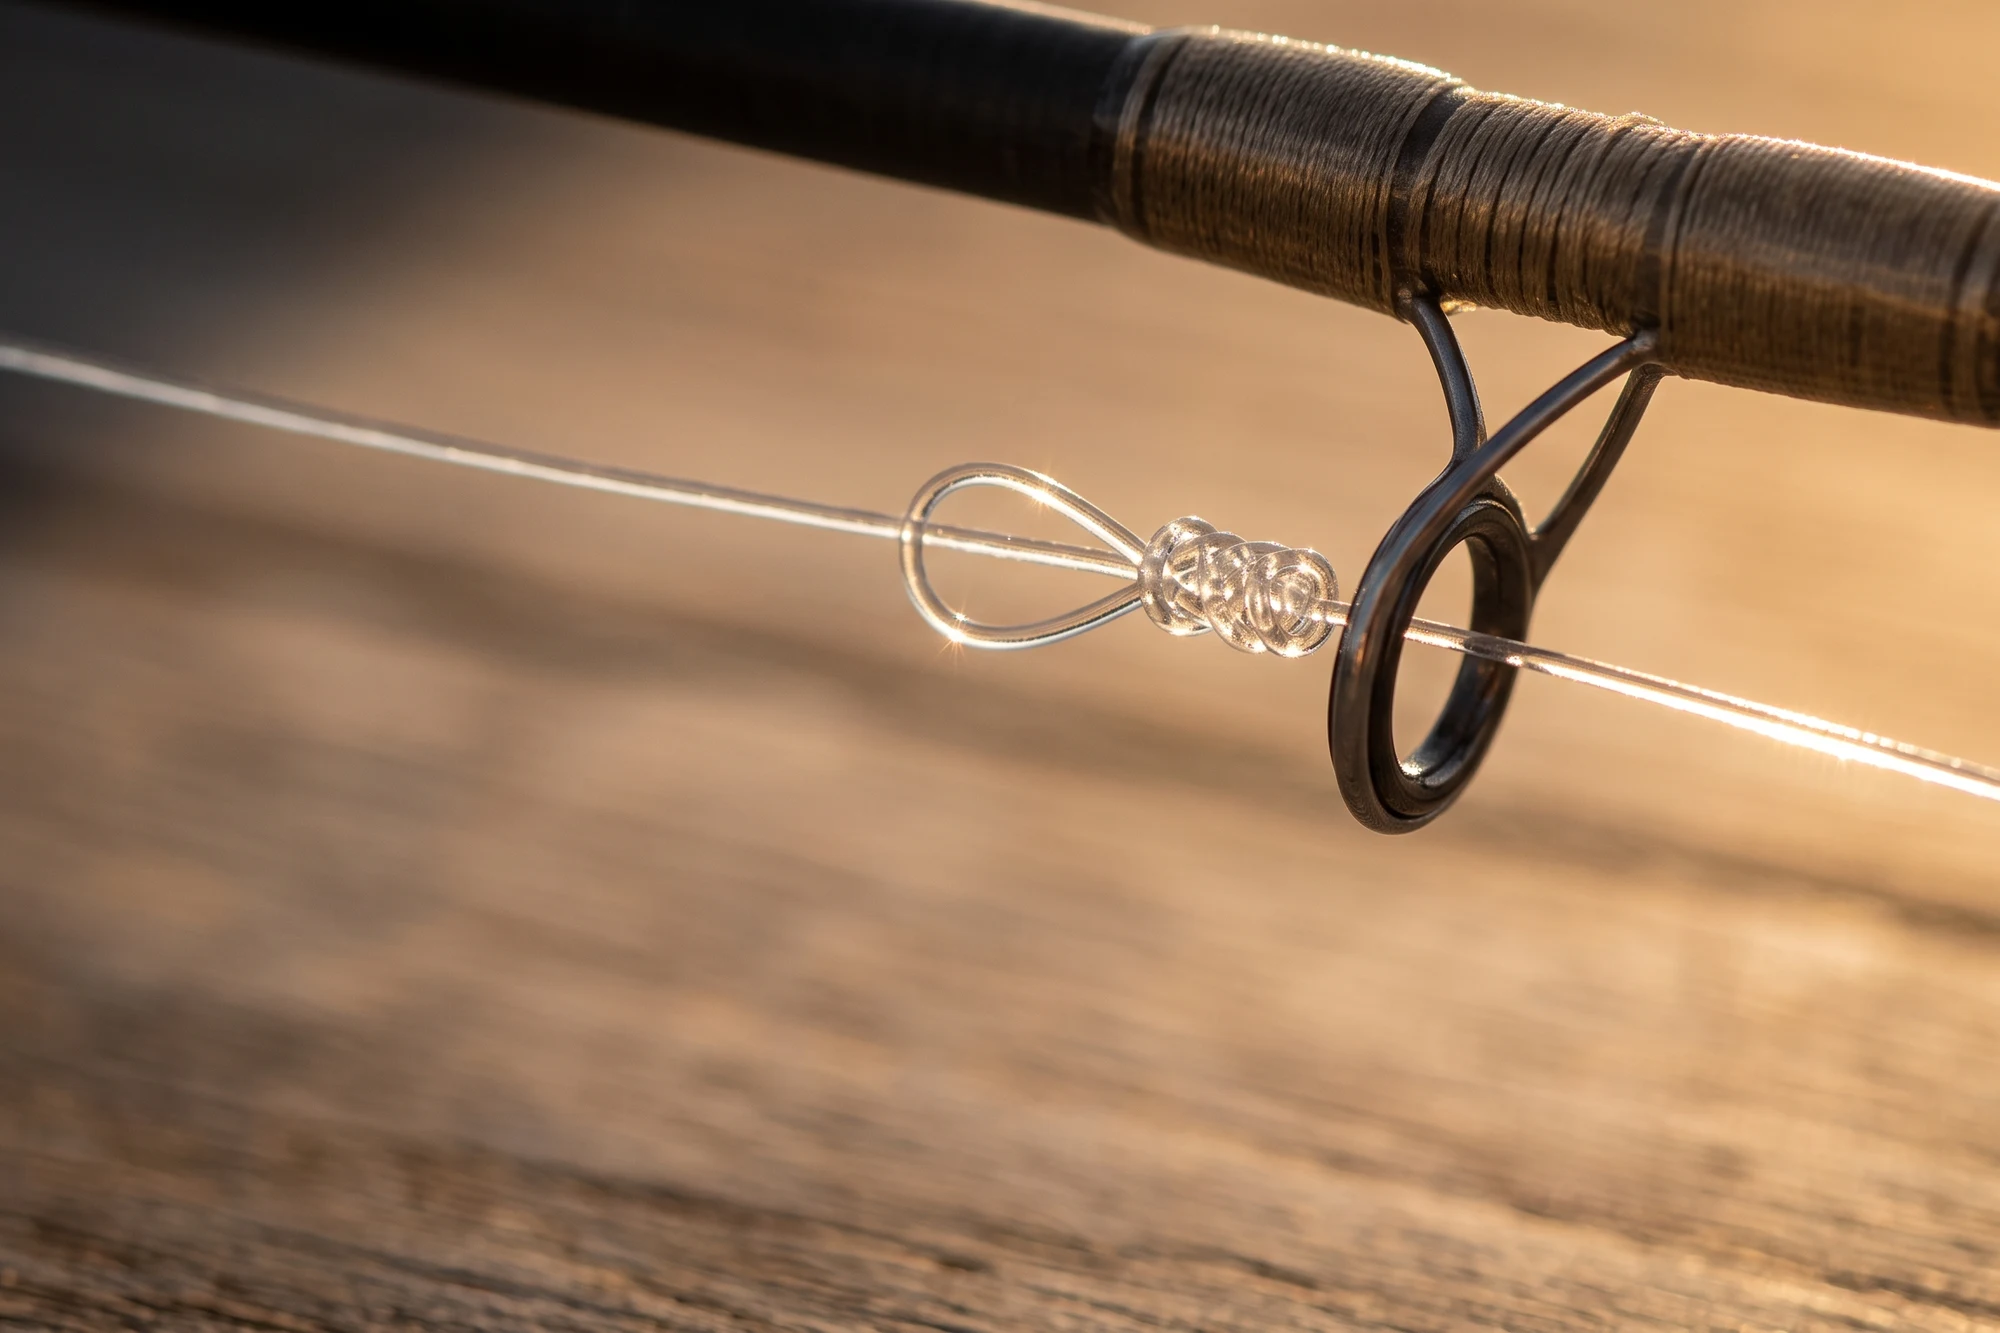
The blood knot exists to join two lines of similar diameter into the thinnest possible connection — no collar, no visible bump, nothing to hang up in a guide or wobble through a tip-top. You use it when you're attaching a fluorocarbon leader to a monofilament mainline, when you're splicing two sections of the same line after a streamside break, or when you're building a tapered leader for a specific depth presentation. It works, and when it works it is one of the cleanest connections in fishing.
The problem is the constraint it brings with it: both lines must be within roughly one pound-test of each other in diameter. Not close. Matched. If one line is substantially thinner than the other, the thinner one slides out from under the thicker one's wraps when the knot loads. The geometry assumes equal diameter, and deviate from that and you've built a knot that looks right and fails on a fish. If you're joining braid to fluorocarbon, or connecting lines more than about two pound-test apart, use a double uni instead. The double uni handles mismatched diameters. The blood knot does not.
What the blood knot actually does
Each side of the connection wraps around the other's standing line, and then both tag ends thread back through the same center gap — but going in opposite directions. You end up with two spirals facing each other, the tags exiting through the middle, and the whole thing cinching into a single compact cylinder when you apply tension.
That cylinder is the point. A surgeon's knot or double uni on the same two lines leaves a visible bump that catches on every guide transition during a long cast. The blood knot passes cleanly. Which is why it is worth the extra care to get it right.
The mechanics, step by step
Lay the two lines parallel and overlapping — six inches of overlap is enough. The mainline goes one direction; the leader goes the other. Both standing lines are pulling away from you in opposite directions.
Take the tag end of the first line and wrap it five times around the standing portion of the other line, moving away from the center of the overlap. Deliberate and even. Each wrap should lie flat against the previous one, snug but not cinched. The tag end should now be pointing back toward the center gap.
Take the tag end of the second line and wrap it five times around the standing portion of the first line, spiraling in the opposite direction from the first set of wraps. Five wraps on each side, each side spiraling away from the center. Both tag ends now point toward the center gap from opposite sides.
Pass both tag ends through that center gap — one going toward your reel, one going toward your leader — so they exit in opposite directions. Hold both tags so the wraps do not unravel. That is the raw structure of the knot.
The cinch — where everyone fails
This step is where most blood knots die.
Wet the entire knot before you apply any tension. Fluorocarbon and monofilament generate friction heat as they tighten against themselves, and dry line cinching at full speed loses measurable strength. Saliva works. Water is better.
Now pull both standing lines simultaneously, slowly and steadily. Do not pull one side before the other, and do not rush. The common failure is pulling hard before the wraps have organized themselves into their final geometry — the coils lose their spiral order, they ride over each other instead of stacking flat, and you cinch a tangle tight instead of a knot. It will feel like it held. It has not. It will break at a fraction of rated strength.
Slow is fast. Both standing lines pulling outward at the same rate, watching the two sets of wraps compress toward each other symmetrically. As the knot closes, the wraps should form two tidy barrels stacking face-to-face at the center, with both tag ends poking out through the gap between them.
Before you trim anything, press the knot between your thumbnail and forefinger and pull both standing lines hard — harder than you expect a fish to pull. If either barrel shifts, the knot is not set. Cut it off and retie. A blood knot that moves under your thumbnail will let go on a fish.
Trim both tags short but not flush. Leave a small amount visible — enough to confirm they're still seated in the gap — but short enough that they won't catch on anything during the cast.
Where this knot fits — and where it does not
The blood knot is a line-joining knot. That is its entire job. It belongs in the middle of your line system: Seaguar Blue Label fluorocarbon leader to Berkley Trilene XL monofilament in matching pound-test, or the two halves of a broken section rejoined on the water. Anywhere two matched-diameter lines need to meet with a slim profile.
It has no place at the hook. A blood knot at the terminal end — tied directly to a jig eye or a hook — is a structural error. The forces a hook applies load the knot in a direction it is not designed to handle. The Palomar does hooks, and does them better than anything else you can tie quickly. Use the blood knot for the join and the Palomar for the terminal, and your weakest point will be the fish, not the line.
It also does not replace the double uni for braid-to-fluorocarbon connections. Braid and fluorocarbon are different diameters even when labeled at the same pound-test, which is exactly the mismatch the blood knot cannot tolerate. On a standard jerkbait setup — 10-pound braid to a 12-pound fluorocarbon leader — the double uni is correct. Reserve the blood knot for the situations it was built for: same material, same weight class, same diameter.
TL;DR — same-diameter lines only, five wraps per side in opposite directions, both tag ends through the center gap going opposite directions, wet before cinching, pull both standing lines simultaneously and slowly, confirm the wraps stacked symmetrically before trimming. The hook knot is the Palomar's job.