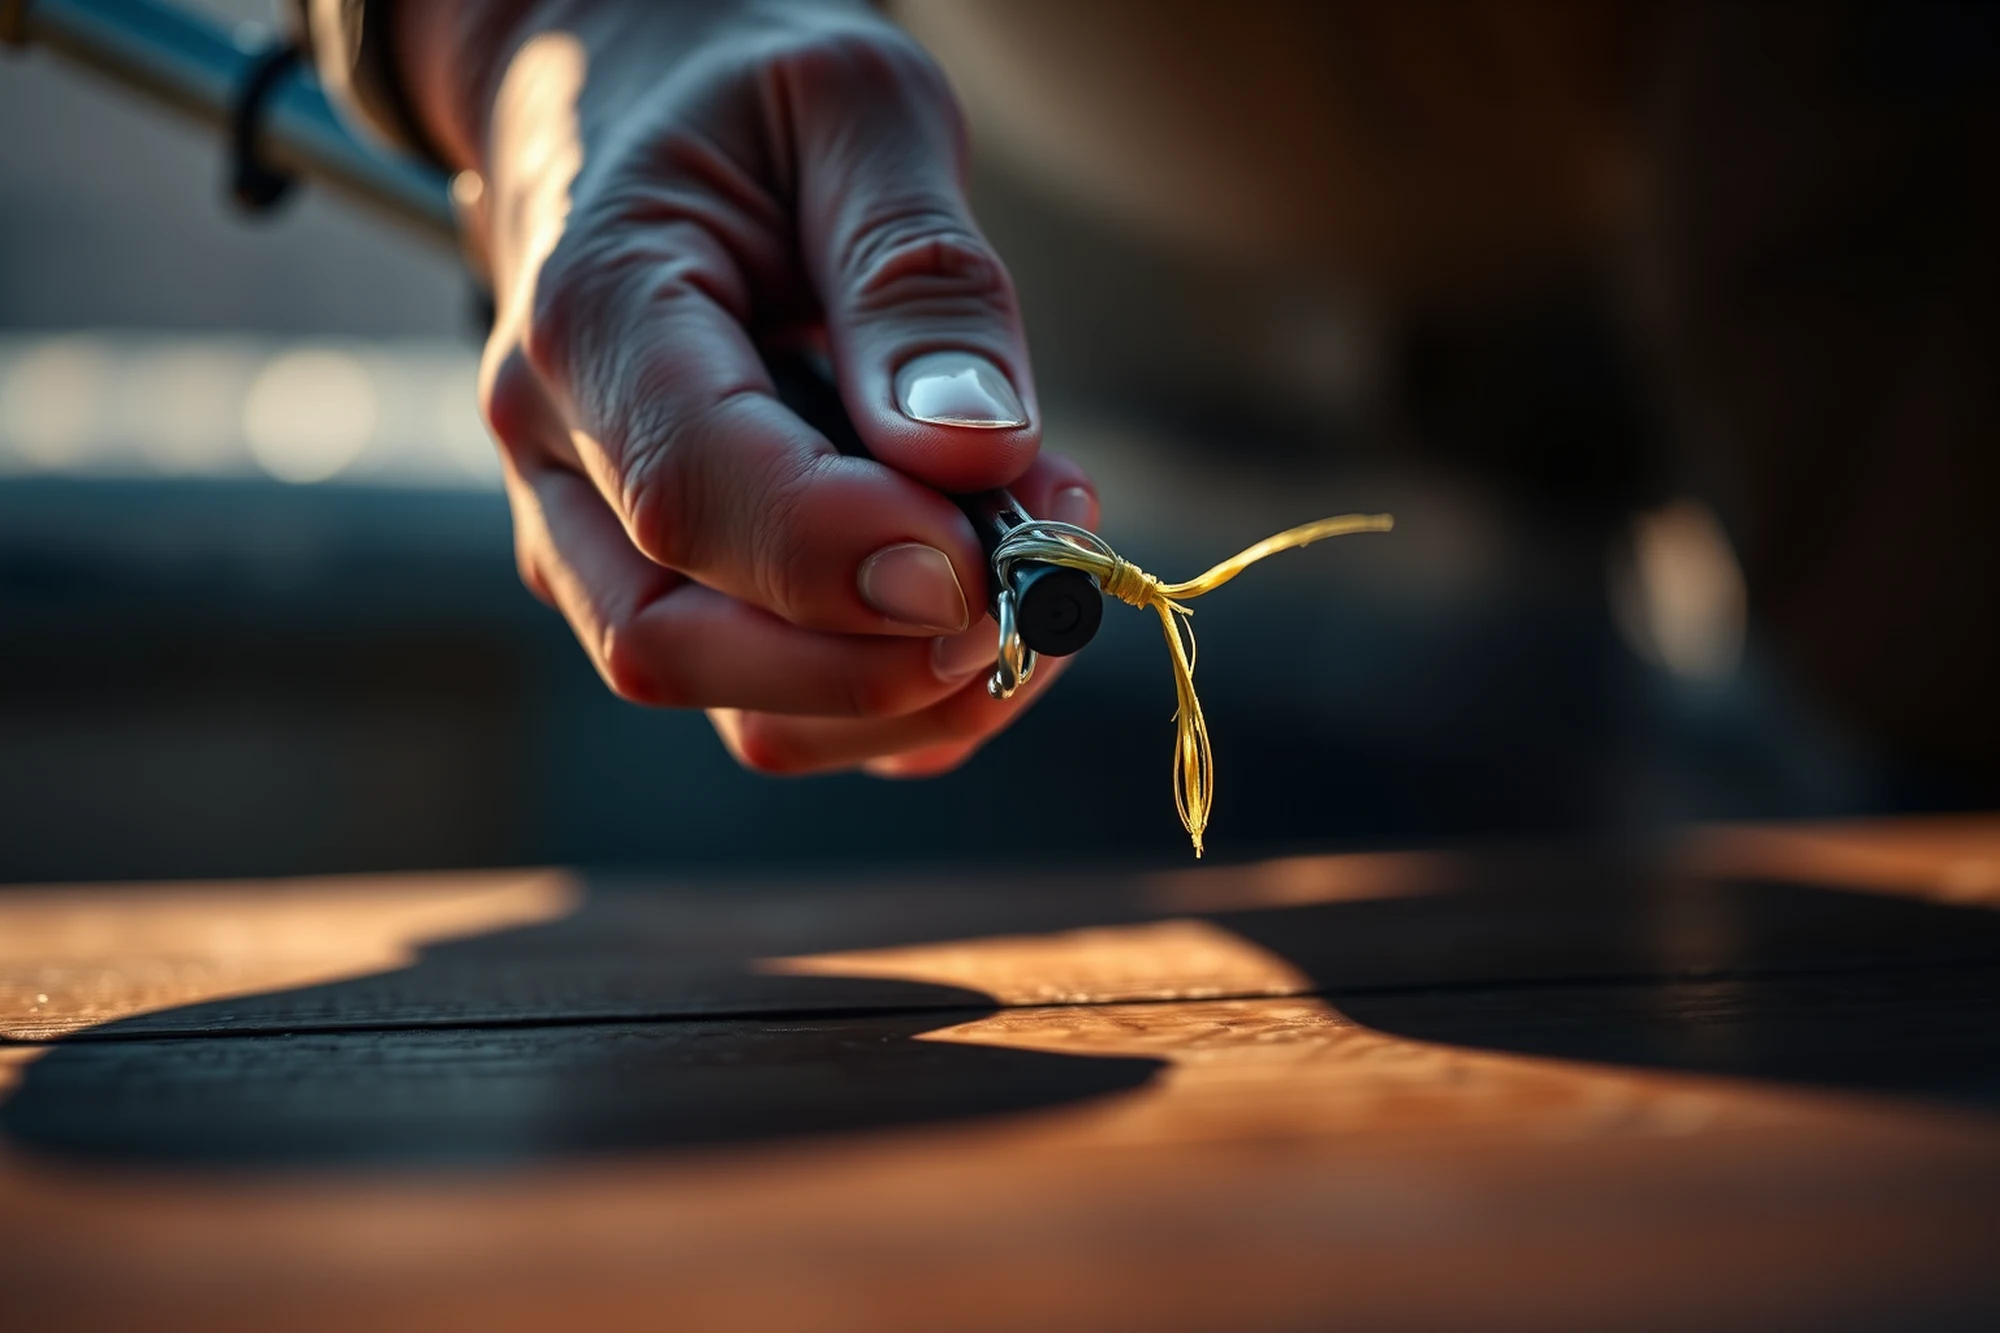
The case for learning the FG knot starts with a small inconvenience most jerkbait anglers eventually notice and never quite name. You tie a double uni, you cast well, and somewhere in the 60-foot range you get a soft bump at the tip — the braid-to-fluoro connection crossing the top guide. On a short leader it happens once per retrieve. On a longer one it happens twice per cast. The double uni's two face-to-face barrels are not flush with the line. They catch. They redirect. You lose distance you cannot account for.
The FG knot collapses that connection into a tapered spiral of braid wrapped around the fluorocarbon, low enough in profile to pass through guides the way braid does. At a well-tied 95-plus percent of the braid's rated strength, it is also the stronger connection. The tradeoff is a knot that takes longer to learn, will not forgive a rushed wrap, and has one finishing step that most anglers abandon before it is actually done.
Why the double uni is still the right answer most of the time
Before you spend twenty minutes learning to tie something new, be clear on when it matters.
The double uni tied correctly handles the load a jerkbait puts on it. On a 12-pound fluorocarbon leader over a 10-pound braid mainline, the double uni passes the pull test, holds through a hard headshake, and rebuilds in 45 seconds when you lose one to a log. In most freshwater jerkbait situations that is all you need.
The FG is the upgrade that pays off in two situations. First, when you are fishing a leader long enough that the knot crosses the tip guide on the cast — you are buying back the distance and smoothness lost to the bump. Second, when the situation carries enough weight that the knot cannot be the variable — a tournament, a once-a-year fishery, a fish you drove a long way to target. Three extra minutes of tying time is a reasonable insurance premium when losing is expensive.
The double uni guide has the full technique for that knot. Tie it first. Learn the FG once you know what you are improving on.
Setting up: holding the leader taut
The FG knot requires the fluorocarbon leader to stay absolutely taut throughout all of the wraps. Not mostly taut. Not taut except for that one moment you adjusted your grip. Taut the entire time, from the first wrap to the last.
Two methods work. The first is teeth: grip the tag end of the leader between your front teeth, hold the standing leader out from your body with your rod hand, and let your neck and jaw provide the tension while your hands tie. This is the field method — fast to set up, no extra equipment, reliable if you keep your head still.
The second is a cleat at the rod tip: loop the leader around a hook eye or any fixed point at or above the rod tip and lean back against it. Some anglers prefer this because it stabilizes the tension without neck fatigue and keeps saliva away from the wraps. The result is the same as the teeth method if the tension is steady.
Whatever you use, the leader must not sag or move between wraps. If tension varies, the wrap spacing varies with it, and you end up with a section of tight wraps and a section of loose ones in the same knot. Loose wraps do not cinch into the same flat spiral as tight ones. They bunch. Cut it off and start over.
The wrap sequence
Start the braid crossing over the leader about six inches from where you are holding tension. Bring the braid under the leader from the back, then back over the top, then under from the front. Each wrap crosses the leader from the opposite side of the previous wrap — over, under, over, under, alternating all the way down.
What this alternating pattern is doing: each pair of wraps locks around the leader in both directions, creating a mesh that grips from every side instead of a loose coil that can unwind. A coil wraps in one direction and can loosen in the same direction under load. The alternating pattern cannot.
The count for a jerkbait pairing of 10-pound braid on 10- to 12-pound fluorocarbon is 40 to 60 wraps, depending on how paranoid you are. At 40 you have a connection that passes a hard pull test. At 60 you have a connection that you do not think about anymore. This guide calls for sixty because when you are learning the knot you should tie the full count every time — once the motion is automatic, you can make a confident decision to stop at 40 if you want to.
Keep the wrist motion the same for every wrap. Small, controlled rotation forward, then back. The wraps should lay beside each other at a consistent angle — somewhere between 30 and 45 degrees off the leader — with no gaps and no overlap. Wraps that bunch in the final third of the count are almost always a sign that the person sped up. Do not speed up.
Reading the wraps before you commit to the finish
Before you start the cinch, take a second and look at what you have.
Squeeze the wrap section gently between your thumb and forefinger and slide slowly from one end to the other. A correctly set section of wraps feels like a single woven sleeve — uniform, firm, not moving. Individual wraps that shift under finger pressure are not fully set. Use your thumb to press them into position while keeping leader tension, then feel the section again.
What you are looking for: the braid sitting flat against the leader at a consistent angle the full length of the wrap section, with no individual coil that rocks or peels away when you press on it. If the first ten wraps feel loose compared to the last ten, the tension dropped somewhere in the middle. If wraps are crossing each other instead of sitting beside each other, a wrap went on crooked. Neither of these fixes itself during the cinch. Cinch pressure amplifies problems, it does not solve them.
The honest answer about uneven wraps is: cut it off and retie. Three minutes of inconvenience is better than a knot that holds 80 percent of the time.
The half-hitches before the cinch
Transition out of the alternating wraps with a standard half-hitch on the same side as your last wrap, then three to four half-hitches alternating sides — left, right, left, right — all of them going over the leader and the wrap section together.
These hitches are not decoration and they are not just for the end. They are the stopper that keeps the wrap section from unraveling backward when the cinch load hits. Skip them and you may see the wraps loosen and slide toward the leader tag end instead of cinching down. Add them and the wrap section behaves as a single unit under load.
The cinch — and where everyone quits
Transition is done. Leader still taut. Now the cinch.
Hold the standing braid in one hand and the braid tag end in the other. Pull them away from each other, slowly and steadily, while keeping the leader taut. You are pulling the entire wrap section down against the leader — collapsing the mesh of wraps into the final position they will occupy when a fish is on the other end.
There will be a moment of resistance. The wraps tighten, the pulling gets harder, and most anglers read that resistance as the knot being done and stop. That is the mistake. That resistance is the wraps compressing — the mechanism working. The cinch is not complete until the resistance changes character: from a building resistance that keeps asking for more pull, to a final stop where nothing moves anymore. Pull through the building resistance until you hit the stop. That is the cinch.
How slow is slow? Slow enough that if you are watching the connection, you can see each small change in the wrap section. Not slow enough to be cautious about — just not a hard yank. A hard yank generates heat and deforms the wraps before they can seat. Slow and steady.
Trim the braid tag end close but not flush. A tag shaved completely flush on a slick material like braid gives the connection no margin if anything shifts. Leave a millimeter or two.
The half-hitches after the cinch
Four to six more half-hitches over the standing line only, alternating sides, finishing with one double half-hitch to lock them off. Wet the entire connection one more time after the final hitch. The moisture lets the last of the wraps deform into their final positions under the line's tension as they dry, rather than after. A knot that dries wet is more stable than one that dries with residual slack the moisture is about to remove.
You can add a tag of braid over the top of the final hitches with a drop of UV resin or head cement if this is a rig you want to forget about for a season. For most freshwater jerkbait situations, the hitches alone are enough.
Putting it all together
Pull test every single connection before it goes near the water. Your hands, not a table of rated strengths for some other line combination. Two different spools of the same pound-test label from different manufacturers can have meaningfully different diameters, and the wrap count that produces a good connection on one pairing may not be the right count for another. The pull test is the calibration.
KastKing SuperPower braid and Seaguar Blue Label fluorocarbon are a braid-to-leader pairing already on this site. Seaguar InvizX is the longer-spool option for anglers who go through fluoro quickly. The tying sequence is the same regardless of which brand is on the spool; the ideal wrap count and the feel of the cinch may differ.
If you want to see how the FG fits into the broader saltwater knot picture — alongside the snell knot for circle hooks and the uni-to-uni as a backup — the Naughty Knots saltwater guide covers all of them. The full line and hardware setup for jerkbaits is the place to start if you are building the braid-to-fluoro system from scratch.
TL;DR — taut leader the entire time, alternating wraps all the way down, inspect before you cinch, pull slow through the resistance until it stops, half-hitches before and after.